 How-to
How Often Should School Metal Detectors Be Maintained in 2026?
Last Updated: November 9, 2026
Quick Summary
Metal detector maintenance follows a tiered schedule: daily opening checks before doors open, weekly sensitivity verification and visual inspection, and full calibration each term in the week before term starts. Daily checks take minutes, while term-based calibration runs 30 to 60 minutes.
- Run daily opening checks before the first student arrives, every single day.
- Test with a consistent test piece, never with a phone or keys.
- Schedule full calibration and firmware review the week before each term starts.
- Stop and escalate when a unit fails the test piece after two sensitivity adjustments.
- Track false alarm rate, failed daily tests and downtime hours as performance indicators.
Table of Contents
- Why Metal Detector Maintenance Decides Whether School Screening Works
- The Metal Detector Maintenance Checklist for Schools
- Metal Detector Calibration Procedures Staff Can Follow
- Troubleshooting Walk-Through Metal Detectors: A Fault Decision Tree
- Cleaning and Physical Care for Detectors and Hand-Held Wands
- Maintenance Logs, Audit Trails and Performance Indicators
- Who Owns Each Maintenance Task Across the District
- Planning Your Detector Maintenance Schedule With Metal Defender
- Frequently Asked Questions
Why Metal Detector Maintenance Decides Whether School Screening Works
Metal detector maintenance is the scheduled set of checks, tests and adjustments that keep walk-through and hand-held screening equipment working as designed. Skip it, and the archway at your entrance can start alarming on belt buckles while missing what matters.
The stakes are simple. A detector that drifts out of calibration alarms on keys and phones, so staff start waving students through. Once that habit forms, screening is theatre.
The Metal Detector Maintenance Checklist for Schools
A workable school checklist splits into daily, weekly and term-based tasks, but the schedule only works if it is tied to your school calendar. Daily checks take minutes and catch obvious failures. Weekly checks catch slow drift. Term-based work catches the degradation that ruins detection reliability over months.
| Task | Frequency | Who | Time | Pass/Fail Criteria |
|---|---|---|---|---|
| Power-on self-test on each lane | Daily, before doors open | Screening lead | 5 min | Self-test completes with no error code |
| Walk-through test with test piece at hip, waist and chest height | Daily | Screening lead | 5 min | Alarm sounds and zone indicator lights at all three heights |
| Wand functional check against same test piece | Daily | Screening lead | 2 min | Alarm sounds at documented test distance |
| Visual inspection for physical damage | Weekly | Site security | 10 min | No cracks, frayed cords, loose feet or damaged mats |
| Sensitivity verification against baseline | Weekly | Trained operator | 15 min | Alarm triggers at same distance and height as prior week |
| Full calibration and documentation | Each term, week before term starts | District security or vendor | 30-60 min | Unit holds baseline setting after two test passes |
| Firmware and settings review | Each term | District security | 20 min | Settings match documented baseline; no pending updates |
Time
Aligning the Checklist to the School Term Calendar
Build the schedule around your school calendar, not the other way round. A practical term-based calendar looks like this:
- Week before each term starts: full calibration, firmware review, complete log audit, and a staff refresher on daily checks.
- First week of term: daily checks run by the screening lead with a backup present, so the routine is established before the entrance gets busy.
- Mid-term: weekly sensitivity verification continues; schedule any vendor service visits for the quietest day of the week.
- Last week of term: review the term's log for failed daily tests, false alarm patterns and downtime hours, and flag any unit that failed more than once for service before the next term.
Daily Opening Checks Before the First Student Walks Through
Run these before the first student arrives, every single day:
- Power on each walk-through unit and confirm the self-test completes with no error code.
- Pass a known test object through the archway at hip, waist and chest height.
- Confirm the alarm sounds and the zone indicator lights correctly at each height.
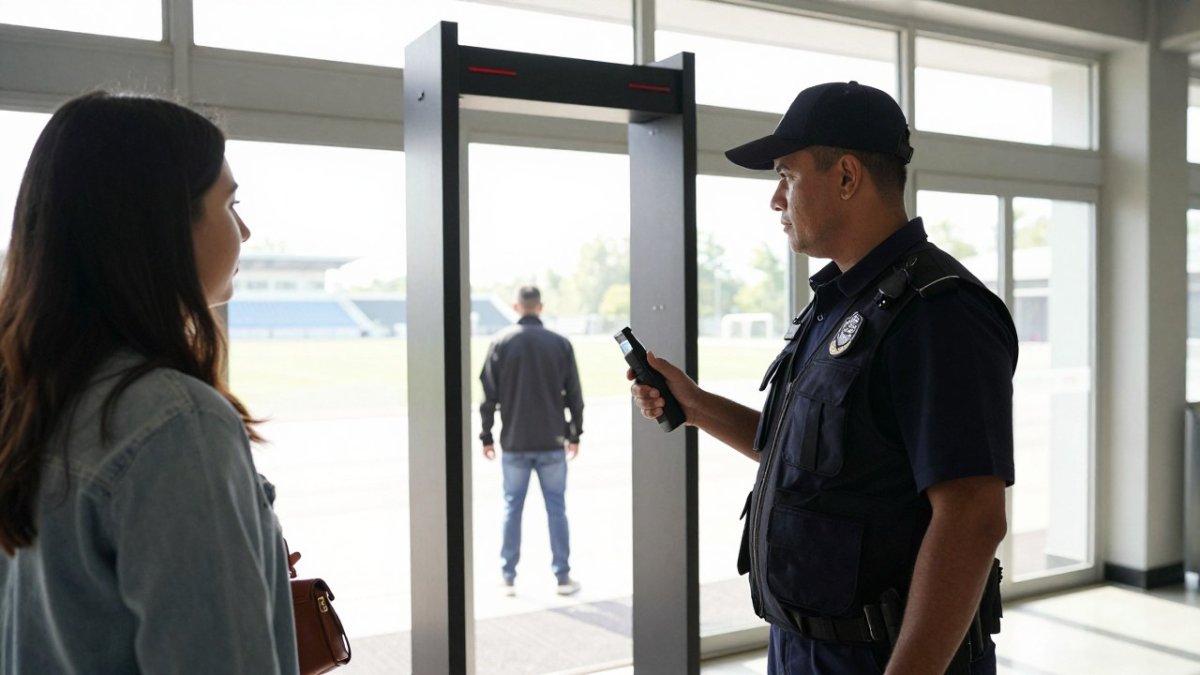
- Switch on each hand-held wand and test it against the same object at the documented test distance.
- Check the display for error codes or a flat battery indicator.
- Log the result, the time and your initials.
Watch out: testing with a phone or keys is not a test. Use a consistent test piece kept at the screening station, or you have no baseline to compare against tomorrow.
Weekly and Term-Based Tasks
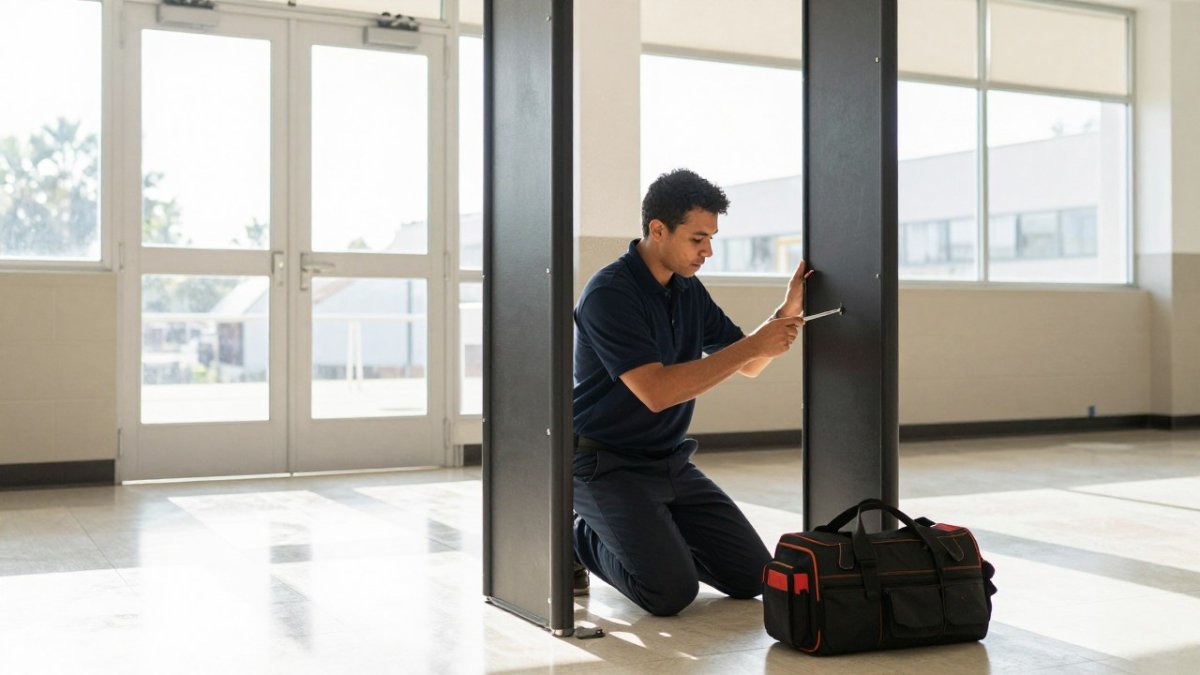
Weekly work is about spotting change. Walk the perimeter of each unit and look for cracked housings, frayed cords, loose feet and damaged mats.
Term-based work is deeper. Book a full calibration, review equipment settings, check for software updates, and confirm the maintenance log is complete.
Metal Detector Calibration Procedures Staff Can Follow
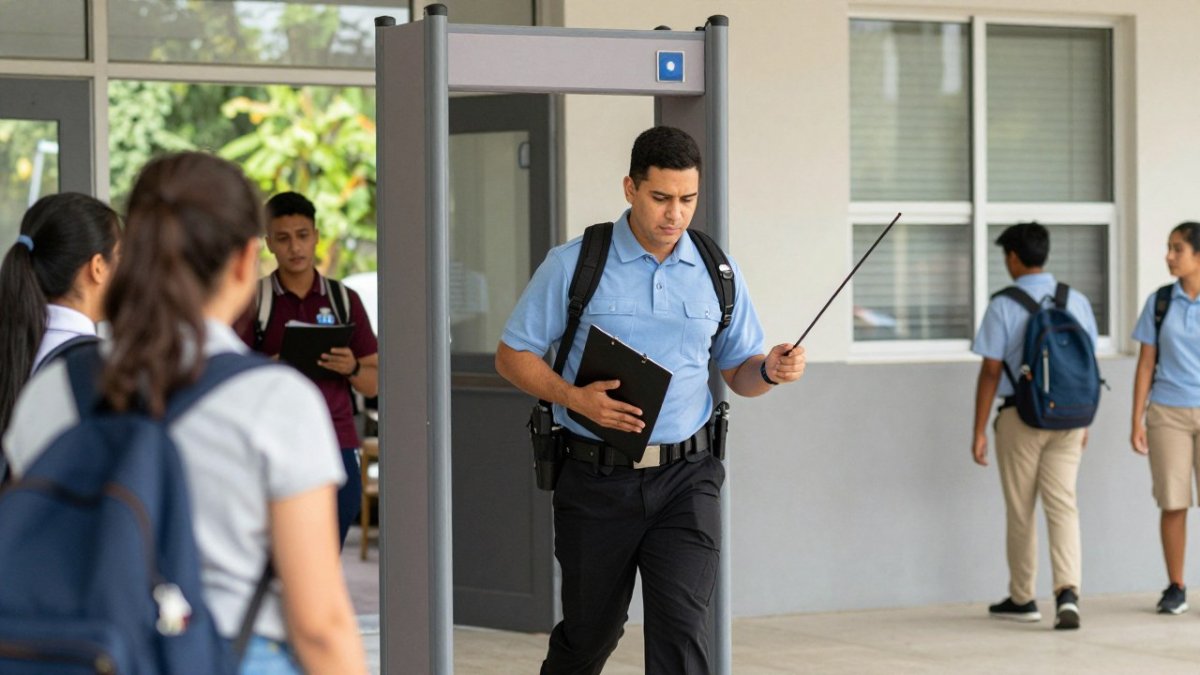
Metal detector calibration is the process of resetting a unit's sensitivity and discrimination thresholds against a known test object so detection stays consistent. Staff can perform a basic field calibration in four steps, and the full procedure is documented in maintaining security screening equipment calibration.
Here is the field version:
- Clear the lane. Remove phones, keys and metal furniture from the detection zone.
- Set the unit to its documented baseline sensitivity, not a guess.
- Pass the test piece through at three heights and confirm each alarm.
- Pass a non-threat item, such as a belt buckle, and confirm it does not alarm.
- Record the settings and the result in the log.
- Repeat weekly against the same baseline.
If a unit will not hold its setting after two attempts, stop using it and escalate. Chasing sensitivity up and down to compensate for a fault is how false alarms become permanent.
Troubleshooting Walk-Through Metal Detectors: A Fault Decision Tree
Most faults fall into four buckets, and the order you check them matters. Work through this tree before calling for service, and stop at the first point where the unit fails a check. The goal is to clear simple faults safely and escalate the rest without running a lane that misses test objects.
Step 1: Does the unit power on?
- No: check the outlet with a known-working device, inspect the cord for damage, and check the fuse if the model has one. If power is fine at the outlet but the unit stays dark, escalate.
- Yes: move to Step 2.
Step 2: Does it alarm on the test piece at all three heights?
- No: raise sensitivity one step and retest. If it still fails, the unit needs service. Do not keep raising sensitivity to force an alarm.
- Yes, but constantly: move to Step 3.
Step 3: Are false alarms frequent?
- Yes: confirm the baseline setting, then check the environment. Nearby metal doors, moving trolleys, electrical panels, fluorescent ballasts and HVAC equipment can all trigger false alarms. Reduce sensitivity back to baseline after clearing the interference.
- No: move to Step 4.
Step 4: Is the display showing an error code?
- Yes: note the code, check the manufacturer documentation for that model, and log it. Do not clear codes without recording them first.
- No: if the unit passes all checks but staff report missed detections, review the screening procedure and test-piece technique before assuming an equipment fault.
Environmental Checks Before You Escalate
A detector that fails in place may pass on a bench. Before calling a technician, check the conditions around the unit:
- Moisture and temperature: units near exterior doors can take in damp air or sit in direct sun. Look for condensation on the control panel and confirm the unit is within the manufacturer's operating temperature range.
- Nearby metal: metal furniture, file cabinets, doors and trolley traffic within the detection zone can distort the field. Clear the zone and retest.
- Electrical interference: motors, panels and older wiring near the lane can cause intermittent alarms. Note whether faults correlate with equipment switching on.
- Physical movement: a unit that has been bumped or moved off its feet may need re-levelling before it will hold calibration.
When to Stop Troubleshooting and Escalate
Stop and escalate when any of the following is true:
- The unit fails the test piece after two sensitivity adjustments.
- An error code persists after a power cycle.
- The unit will not hold its baseline setting after two calibration attempts.
- There is visible damage to the housing, cord or sensor panels.
- The unit has failed a daily check more than once in the same week.
When the tree points to a fault you cannot clear, submit a trouble ticket rather than running a failing lane. A detector that misses test objects is worse than no detector, because staff trust it. Log the fault, the steps you took and the time of escalation so the technician starts from evidence rather than a description.
Cleaning and Physical Care for Detectors and Hand-Held Wands
Dust, grit and moisture do more damage than most people expect. Wipe walk-through frames with a dry or barely damp cloth weekly.
For hand-held wands, wipe the shaft and coil after each shift. Check the battery compartment for corrosion, and swap batteries on a fixed schedule rather than waiting for failure.
Physical care also means protecting the unit from its environment. If a unit sits near an exterior door, check it more often in wet weather.
Maintenance Logs, Audit Trails and Performance Indicators
A log turns maintenance from a habit into evidence.
Track these fields for every unit:
- Unit ID and location
- Date, time and staff initials
- Test result against the test piece
- Sensitivity setting used
- Faults found and action taken
Then watch three performance indicators: false alarm rate per hundred students screened, failed daily tests per month, and downtime hours per unit. Rising false alarms usually mean calibration drift or an environmental change. Rising failed tests mean the equipment is aging out.
Who Owns Each Maintenance Task Across the District
Split responsibility deliberately. Daily and weekly checks belong to site staff, because they are on site and can act fast. Calibration, software updates and documentation belong to a district-level security lead or the equipment vendor.
Name a backup for every task. A single point of failure is a maintenance plan with a hole in it. Staff training matters here too: run a short refresher each term so new staff learn the operating procedures and existing staff do not drift into shortcuts.
Planning Your Detector Maintenance Schedule With Metal Defender
Build the schedule around your school calendar, not the other way round. Align the whole plan with your wider walk through metal detector for schools guide so maintenance and program design move together.
Metal Defender supplies walk-through and hand-held detection equipment, with rental and leasing options for districts that need flexibility. For a deeper look at the full maintenance and support picture, see our complete guide to security detector maintenance and support.
Screening that fails quietly is the real risk in school security.
Frequently Asked Questions
How often should school metal detectors be calibrated?
Run a functional test at the start of every school day using a known test piece, and do a full calibration check weekly. A formal recalibration against the manufacturer's procedure should happen at least once per term, and immediately after any unit is moved, bumped hard, or reports repeated faults. Detectors drift with temperature swings and heavy foot traffic, so a weekly check catches problems before they show up as missed weapons detection at the entry screening point.
What are the daily maintenance requirements for walk-through metal detectors?
Before the doors open, confirm the unit powers on and completes its self-test, walk a test object through at the sensitivity setting in use, check that the alarm sounds and the light triggers, and inspect the archway and base plate for physical damage or loose cabling. Wipe down high-touch surfaces. Log the result. The whole routine takes a few minutes per lane and gives you a documented functional check for the day.
How do you troubleshoot common metal detector errors in schools?
Start with the simplest cause. Constant false alarms usually trace to sensitivity settings set too high, nearby metal structures or wiring, or students carrying large metal items, so lower sensitivity one step and retest. No alarm on a known test piece points to a power, cabling or calibration fault. Intermittent faults often come from a loose connector or a damaged cable at the base. If the fault survives a power cycle and a recalibration, stop using the unit and call service support rather than opening the housing.
What cleaning products are safe to use on metal detection sensors?
Use a soft cloth dampened with mild soap and water on housings and the archway, then dry immediately. Keep liquids out of the control unit, the sensor panels and any vents. Avoid solvent-based cleaners, abrasives and bleach solutions, which can cloud sensor covers and degrade plastics. For hand-held wands, wipe the shaft and coil with a damp cloth and never submerge them. Check your manufacturer documentation for approved cleaners before introducing a new product to your custodial team.