 How-to
7 Ways to Reduce School Metal Detector False Alarms
Last Updated: October 28, 2026
Quick Summary
To reduce school metal detector false alarms, calibrate the unit with baseline clean and threat passes, then tune sensitivity zone by zone so hip-zone items like keys and phones stay quiet while torso sensitivity stays high. Also separate laptops and bags before the archway and follow a daily maintenance checklist.
- Clear metal objects from within at least 1.5 metres of the archway before baseline testing.
- Let the detector settle 5 to 10 minutes before running clean and threat passes.
- Start zone tuning with the hip zone, where belts, keys and phones trigger most alarms.
- Have students drop bags and devices in trays before the archway to remove the largest trigger category.
- Track alarm rate daily by dividing alarms raised by total students screened.
Table of Contents
- Start With the Real School Metal Detector False Alarm Causes
- How to Calibrate a Walk-Through Metal Detector for a School Entrance
- Use Zone-Based Sensitivity to Cut False Positives Without Weakening Security
- Set School Metal Detector Screening Procedures That Keep Lines Moving
- Follow a School Metal Detector Maintenance Checklist
- Troubleshoot Alarms Step by Step and Tell Harmless Triggers From Threats
- Measure Alarm Rates and Student Flow to Prove the Fix Works
- Request a Metal Defender Demo or Rental for Your School
- Frequently Asked Questions
Start With the Real School Metal Detector False Alarm Causes
Most schools blame the detector when the alarm rate climbs, but the machine is usually doing exactly what it was told to do. Reducing school metal detector false alarms starts with a hard truth: the alarm is a symptom, and the cause sits in the sensitivity settings, the environment, or the items students carry.
Everyday Items That Trigger Alarms
- Laptops and Chromebooks carried in thin sleeves rather than left in lockers
- Belts with metal buckles and metal belt loops
- Keys and keychains, especially large bunches
Environmental and Equipment Interference
For the wider context on how these systems fit into a school safety plan, our guide on a walk through metal detector for schools covers setup and policy before you get to tuning.
How to Calibrate a Walk-Through Metal Detector for a School Entrance
Calibration is the single highest-impact fix, and it takes minutes once you have a routine. A generic walk-through test is not enough for a school entrance, you need a repeatable workflow covering baseline testing, environmental interference, zone-by-zone sensitivity, and clear triggers for involving a qualified technician.
Baseline Testing: Establish a Clean Reference
- Clear the zone. Remove metal chairs, carts, shelving, and temporary metal fixtures from within at least 1.5 metres of the archway. Note any permanent metal in the floor, walls, or ceiling.
- Power up and let the unit settle. Give the detector 5-10 minutes to stabilize; many units run internal self-tests during this period.
- Run a known-clean pass. Walk through with nothing metal on your person, no belt, no keys, no phone. If it alarms, you have an environmental or equipment issue, not a sensitivity issue.
- Run a known-threat pass. Use a test object similar in size and composition to the items you want to catch (a representative training weapon or a manufacturer-supplied metal test piece). It should alarm consistently.
- Record the baseline. Write down the sensitivity level, date, test objects, and results, your reference point for every future calibration.
Environmental Interference: Find It Before You Fight It
- Metal in the floor or subfloor (rebar, conduit, heating ducts)
- Electrical panels or transformers within a few metres
- Metal door frames, shelving, or lockers near the archway
Walk the area with a handheld metal detector or magnetic stud finder to map nearby metal. If you cannot relocate the unit, document the interference and factor it into your sensitivity settings, but do not simply lower sensitivity, which weakens threat detection everywhere.
Zone-by-Zone Sensitivity: Tune What Matters
- Start with the hip zone. This is where belts, keys, phones, and metal water bottles trigger most false alarms. Raise sensitivity until your test object alarms, then back off one step so everyday items stay quiet.
- Move to the torso zone. This is where concealed threats matter most. Keep sensitivity higher here, test with your threat object at chest height and confirm it alarms reliably.
- Check the ankle and head zones. Less common threat locations, but still require baseline testing. Metal-framed glasses and orthodontic hardware affect the head zone; metal zippers and coins affect the ankle zone.
- Test from multiple heights and angles. A low-carry and a high-carry pass should behave the same way. Test walking through at normal pace, not just standing in the archway.
- Record per-zone settings. Write down each zone's sensitivity level and the date so the next shift can restore the exact configuration.
When to Involve a Qualified Technician
If alarms persist after these steps, the equipment may need a deeper adjustment. Our article on maintaining security screening equipment calibration walks through the full procedure.
A Note on Documentation
Keep a calibration log for each detector: date, technician or staff member, baseline results, changes made, and final settings. This log is your evidence the detector is operating correctly and makes troubleshooting far faster.
Use Zone-Based Sensitivity to Cut False Positives Without Weakening Security
The trade-off is real: zone tuning takes an afternoon of testing to get right. But once it is set, your alarm rate drops and your line moves.
Set School Metal Detector Screening Procedures That Keep Lines Moving
Flowchart illustrating efficient screening procedures at a school metal detector entrance station
Procedures decide your queue time as much as equipment does. A clear, repeated routine keeps student flow steady and cuts the rescreening false alarms create.
Separating Laptops, Chromebooks, and Bags Before the Archway
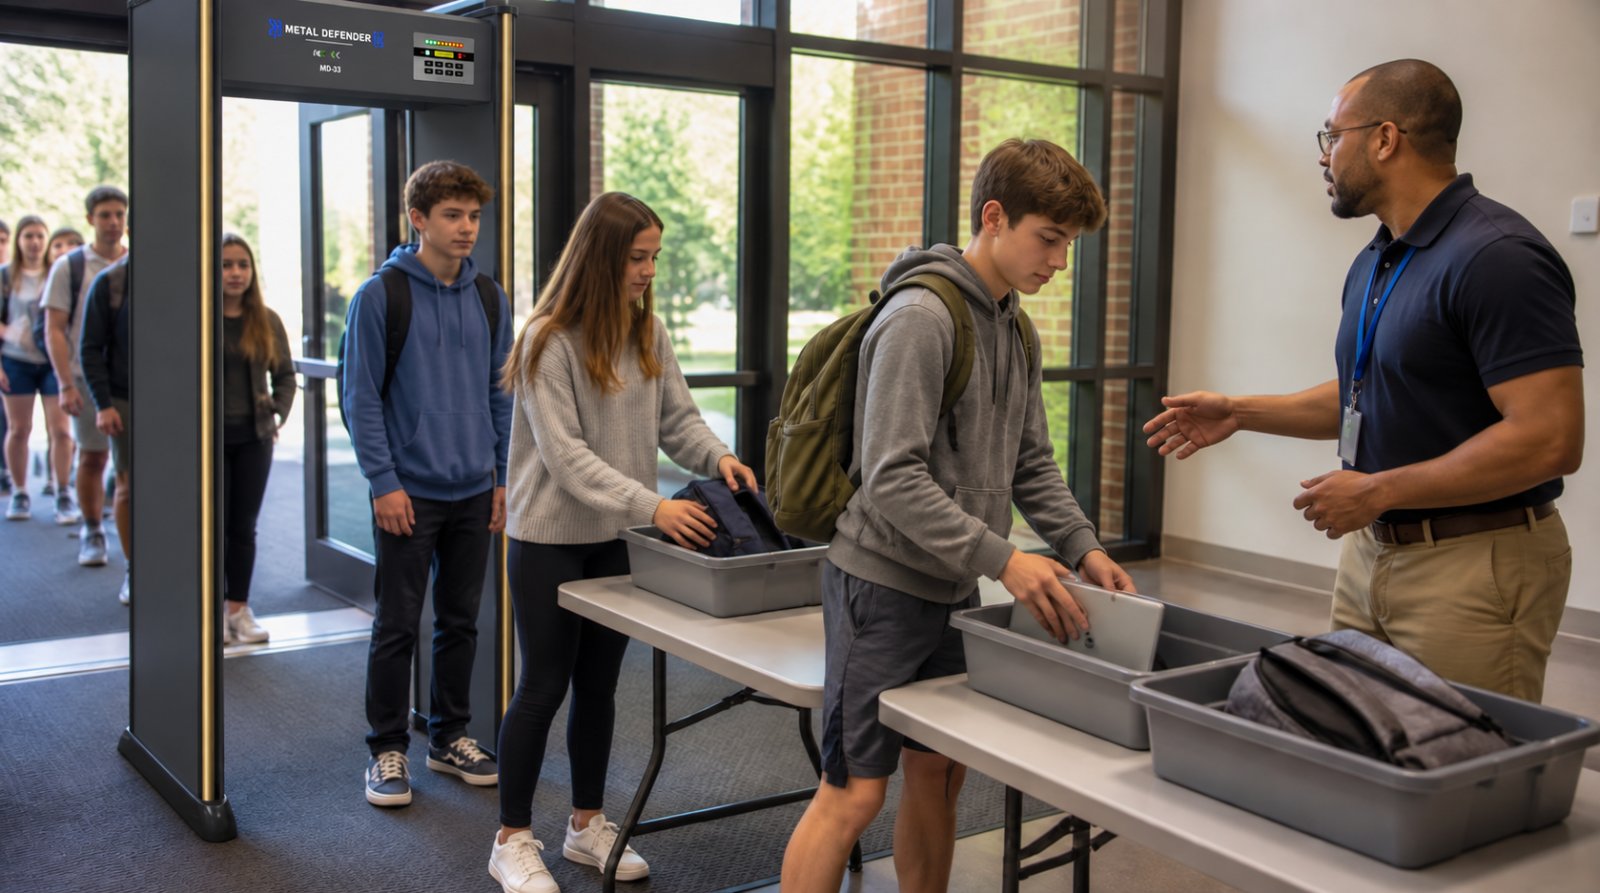
The fastest fix for laptop and bag alarms is to keep them out of the archway entirely. Set a table before the detector and have students drop bags and devices into trays. Screen those items separately or send them around the archway. This one step removes the largest category of everyday triggers.
Secondary Screening and Staff Response
- Step the student to a marked secondary screening spot, off the main line
- Ask them to remove the likely item, then rescreen
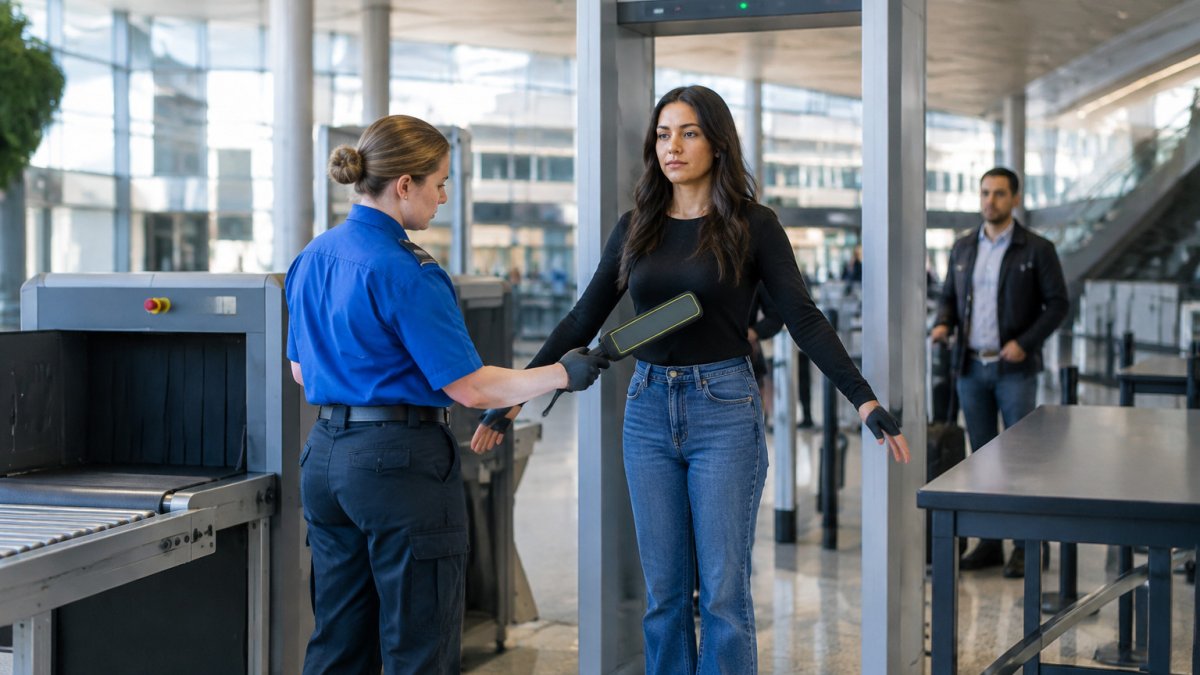
- Use a hand wand for a targeted check if needed
Equity matters here. Apply the same procedure to every student, every time, consistency is what makes screening feel fair and keeps student cooperation high.
Follow a School Metal Detector Maintenance Checklist
- Wipe down the archway and check for physical damage each morning
- Confirm the unit powers on and completes its self-test
- Run a clean pass and a test-object pass before the first bell
Most "faulty detector" complaints trace back to a skipped daily check, not a broken unit.
Contact Us For Your Ordering & Rental Needs →
Troubleshoot Alarms Step by Step and Tell Harmless Triggers From Threats
When alarms spike, work the problem in order. This sequence separates a harmless trigger from a real concern without guesswork, and gives staff a consistent, respectful process that protects student dignity and keeps lines moving.
The School-Specific Troubleshooting Workflow
Follow these steps in order, and do not adjust sensitivity until you have ruled out environmental and procedural causes.
- Check the zone. Note which zone triggered the alarm; zone indicators tell you where to focus.
- Observe the student's items. Ask the student to remove the likely item (keys, phone, belt, water bottle) and place it in a tray. Rescreen without the item.
- Rescreen once. If the alarm clears, log the trigger as a harmless item and move the student along. If it persists, proceed to step 4.
- Use a hand wand for a targeted check. A hand-held detector pinpoints the source without a full pat-down. Scan the zone that triggered the alarm.
- Escalate to secondary screening. If the hand wand confirms metal in a specific area and the student cannot or will not remove the item, move them to a designated secondary screening spot off the main line.
- Document the trigger. Record the zone, the item (if identified), and the outcome. Recurring triggers in the same zone or from the same item type signal a need to adjust procedures or recalibrate.
Distinguishing Harmless Triggers From Potential Threats
Indicator | Harmless Trigger | Potential Threat |
|---|---|---|
Zone | Hip or ankle (belts, keys, coins) | Torso or unusual location |
Item identified | Student readily identifies and removes item | Student cannot or will not identify item |
Hand wand result | Confirms metal in expected location | Confirms metal in unexpected location |
Behavior | Cooperative, calm | Nervous, evasive, or inconsistent explanation |
Recurrence | Same item type triggers repeatedly | Unexplained alarms in same zone |
Secondary Screening: A Respectful, Consistent Process
- Use a marked, private spot off the main line, ideally with a screen or partition.
- Explain the process to the student before you begin: "I'm going to ask you to remove the item and step through again. This is routine."
- Apply the same procedure to every student, every time. Consistency is what makes screening feel fair.
- Offer accommodations for students with disabilities or medical devices. A student with a cochlear implant, insulin pump, or other medical metal should have a documented accommodation plan that avoids repeated secondary screening.
Documenting Recurring Triggers
If a specific alarm keeps recurring after these steps, it is worth a support ticket. You can submit a troubleshooting request with the details so the cause gets resolved faster.
When to Escalate to a Technician
Call a qualified technician if:
- The workflow above does not resolve the alarm pattern
- The detector alarms on clean passes after environmental checks
- Zone indicators behave inconsistently
- The unit shows error codes or fails self-tests
A technician can perform factory-level diagnostics and recalibration that go beyond daily staff adjustments.
Measure Alarm Rates and Student Flow to Prove the Fix Works
You cannot prove a fix without numbers. Track three things daily: total students screened, alarms raised, and alarms that turned out harmless. Divide alarms by students screened to get your alarm rate, and watch it fall as you tune zones and separate bags.
Also time your line before and after each change. When alarm rate and queue time drop together, you have proof the fix worked and data to defend the program to your board.
Request a Metal Defender Demo or Rental for Your School
If your current equipment cannot do zone-based tuning, or if budget rules out a capital purchase, Metal Defender offers flexible acquisition options including rentals and leasing. Our walk-through and hand-held detectors are backed by real support. Explore rental options for your school, or contact us for your ordering and rental needs.
Frequently Asked Questions
Why is my school metal detector giving false readings?
Most false readings come from sensitivity set too high, nearby metal structures or electrical equipment, or everyday items students carry. Belt buckles, steel-toed shoes, keys, phones, and chromebooks are common triggers. Check placement first: detectors should sit away from lockers, wiring, and metal door frames. Then review the sensitivity setting and run a test with known items before the school day starts. If alarms persist after those checks, the detector may need recalibration or servicing.
Will a phone or Chromebook set off a metal detector at school?
Yes. Phones, Chromebooks, and tablets contain enough metal to trigger a walk-through metal detector, especially at higher sensitivity settings. The simplest fix is to have students place devices and bags in trays before passing through the archway. This removes a large share of routine alarms and speeds up the line. If your policy allows devices through, zone-based sensitivity can help, but separate screening is usually faster and more predictable.
How should school staff respond when a detector alarms?
Use a calm, scripted response. The student steps aside to a secondary screening area, and a trained staff member uses a hand-held detector to locate the source. Ask the student to remove the item if it is harmless, such as a belt or keys, then rescreen. If the source is unclear or the item is prohibited, follow your district's escalation procedure. Consistent staff training and written operating procedures keep responses fair and reduce queue time.
How often should school metal detectors be tested and maintained?
Test walk-through detectors at the start of every school day with a known test object, and log the result. Wipe down and inspect the archway weekly, checking cables, feet, and the control unit. Schedule a fuller calibration check monthly and after any move or repair. Keep a maintenance checklist on file so staff can spot drift in sensitivity before it turns into a wave of false alarms.
The real challenge is not silencing the alarm, it is keeping detection strong while you do it. Metal Defender builds walk-through and hand-held detectors with the zone control and support that make that possible, plus rental and leasing options when a capital purchase is not in reach. Reach out to our team to see the equipment in action and find the setup that fits your entrance.